How To Avoid Common Image Editing Mistakes
By Geoff Harris •
7 Most Common Image Editing Mistakes & How To Avoid Them.
As with the old film darkroom, taking a picture is only part of the process – you also need to know how to edit images to get the most from them in the 'digital darkroom.' Here are some of the more common errors to watch out for.
1) Over-sharpening
Everyone wants sharp images, and while your image editing software can certainly help with sharpening, it can only go so far. If you over sharpen you can end up with artificial looking haloes around the images, or the pixels can start to break down completely.
So the key here is to be cautious. Begin by viewing the image at 100% in your editing program (such as Lightroom) so you can get a sense of how sharp it is to begin with. If you are working in Camera Raw/Lightroom, use the Clarity slider to give more definition and detail to boost edge contrast only.
Radius determines how many pixels either side of an edge sharpened, and you can keep Masking low to ensure you don't sharpen low detail areas.
2) Excessive noise reduction
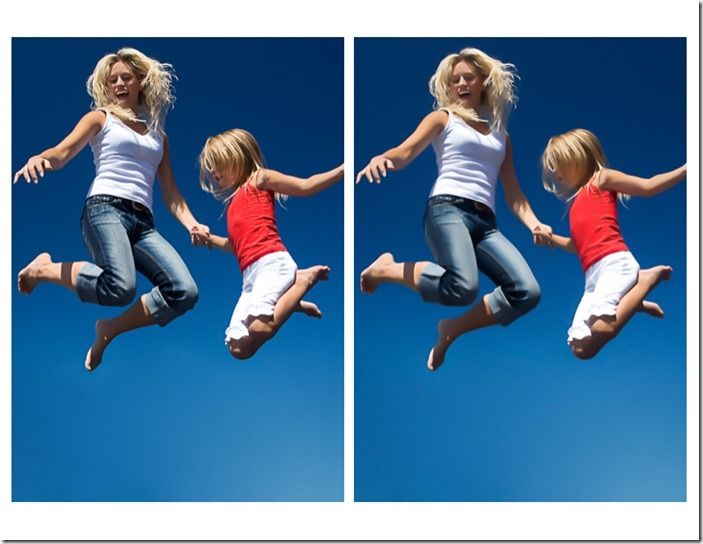
If you are shooting raw, and at a higher ISO, you will definitely need to remove noise (remember that no sharpening or noise reduction has been applied to raw images by the camera, unlike with JPEGs).
In Camera Raw/Lightroom, the Luminance slider enables you to target monochromatic noise (the characteristic digital grain, or speckled effect), while Colour lets you reduce green or red specks.
As with sharpness, don't get carried away with noise reduction; yes you may remove noise but at the expense of realism, as people end up looking like waxworks. Reduce noise then zoom in again – if the skin looks too smooth and 'plastic' you have gone too far.
3) Excessive 'Clarity'
One of the first tools you come across in popular image editing programs is Clarity. It works by adjusting the contrast of the midtones in the image, but again, don't push the slider too far. You can end up with ugly halo effects and colours can end up looking murky. The same goes with the Contrast slider. Push it too far and the images look very 'crunchy' and artificial.
If you look at the Tone Curve window in Lightroom, one of the pull down arrows enable you to add high contrast or medium contrast, so you can experiment with different effects before committing (remember to use the History panel over to the right of the screen so you can cancel out an editing change if it doesn't work).
4) Not working on shadows and highlights
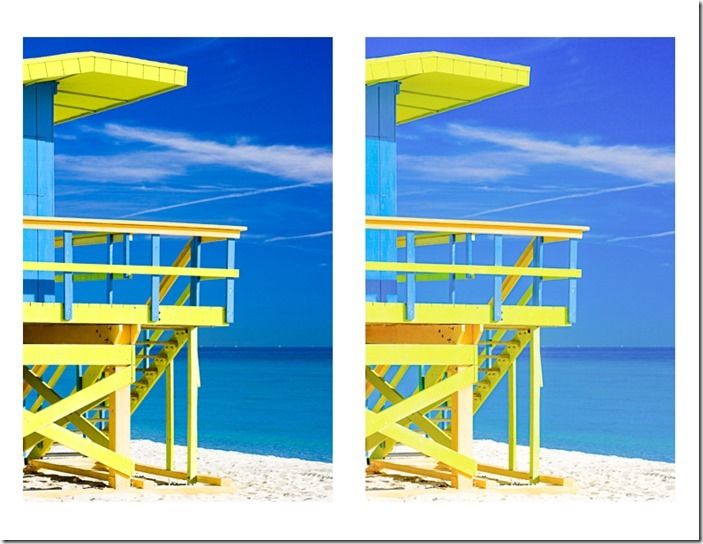
While digital cameras are good at many things, they can have limited dynamic range, which can sometimes result in blown-out highlights or loss of shadow detail. Underneath the Histogram panel in Lightroom are two arrows, which come in useful (other programs have a similar feature).
The one on the left reveals 'shadow clipping,' while the one on the right reveals clipped highlights, shown here as red. Clicking on these arrows reveals useful information about the dynamic range – when shooting a white shirt or wedding address, you want to keep some detail, rather than having a solid sheet of white.
5) Not straightening up verticals and horizontals
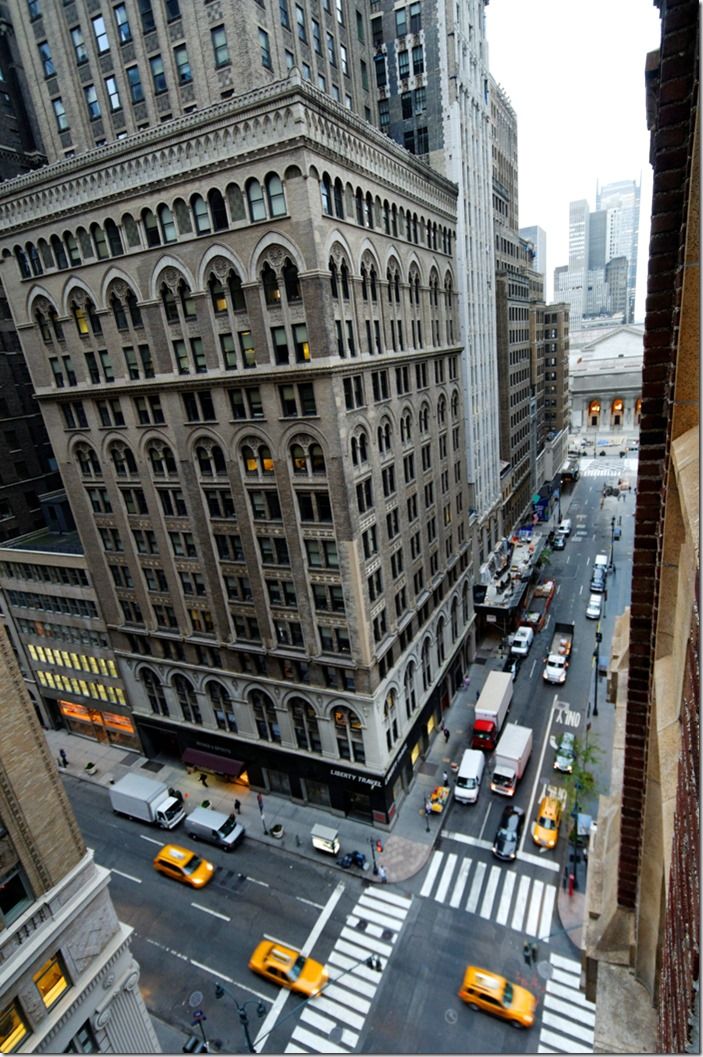
It's also important that your images look as straight and level as possible, unless you are deliberately going for an artistic effect – in which case make it really obvious, rather than it looking like a mistake. If you use Lightroom a very easy way to straighten up an image is to drag outside the boundaries of a crop.
Looking further down the Develop panel reveals Lens Corrections, where you can fix lens distortion and have a finer degree of control over vertical and horizontal lines. Be careful that you don't end up distorting figures though – too much work on horizontals can make people look quite distended, which they won't thank you for. You may need to recrop afterwards, too.
6) Not tweaking the colour temperature
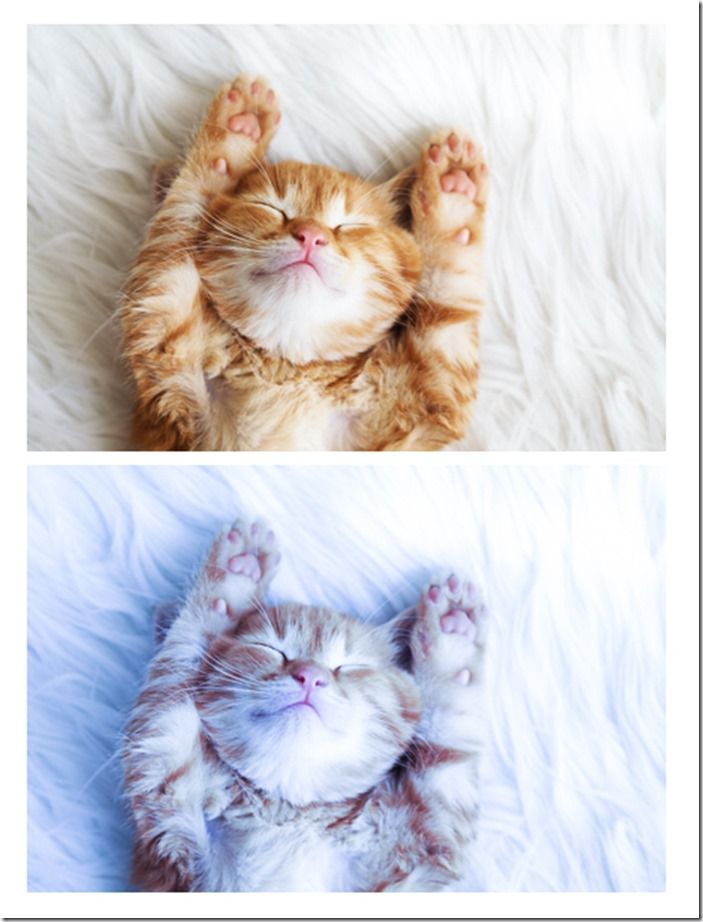
Another important job at the image editing stage is to work on the white balance, in other words, the colour temperature of an image. While the auto white balance systems on modern cameras are better than they used to be, they are not infallible and an image can end up looking too 'cool' or too 'warm'.
It depends on the camera, but I find auto white balanced images on my Nikon D800 tend to err towards the cool (blue) end of the scale, so a bit of warming up is often necessary. Again, play it by ear and be cautious.
Remember too that you need to shoot in raw to have full control over white balance at the image editing stage; changing the white balance of a JPEG is a much harder job, as it's already been set by the camera. This is another good reason for shooting raw.
7) Not outputting images correctly
When you have edited your images, you then need to save them in the right format and with the right dimensions. For quality printing from raw files, saving out as a TIFF is a good idea. Depending on your software you can also save out as JPEG, DNG, or a lot of other formats.
Don't forget to think about the resolution too. Setting it at 300 dpi is good for print. You may also need to enter the exact dimensions you want to print at, rather than just relying on the cropping ratio you chose when editing.
Stay updated
Receive free updates by email including special offers and new courses.

